How to create a Windows Service based Server (.NET)
A Windows Service is a long-running application without any user interface that Windows can start automatically when the machine boots. That makes it an ideal way to run a server in production — it stays up in the background, with no console window to keep open and no user logged in.
This article shows how to run a Remoting SDK for .NET server as a Windows Service. It builds on the Microsoft.Extensions.Hosting hosting model; for the full picture of that infrastructure see ApplicationHost.
Step 1 — Start from an Extensions.Hosting server
Create a new project from the Remoting SDK Server, Extensions.Hosting-based template (File → New → Project, filter for Remoting SDK), or use an existing server that already builds on this hosting model.
The template generates a Program.cs that sets up the server through the standard .NET host builder:
using Microsoft.Extensions.Hosting;
using RemObjects.SDK.Extensions;

internal static class Program
{
    public static void Main(string[] args)
    {
        var host = CreateHostBuilder(args).Build();
        host.Run();
    }

    public static IHostBuilder CreateHostBuilder(string[] args)
    {
        return Host.CreateDefaultBuilder(args)
            .ConfigureServices((hostContext, services) => { })
            .UseApplicationServer(configuration =>
            {
                configuration.ApplicationName = "MyServer";
                configuration.RodlNamespace = "MyServer";
            })
            .UseNetworkServer(server =>
            {
                // server.Port = 8099;
            })
            .UseConsoleLifetime();   // <-- runs as a console app
    }
}
As generated, the project runs as a normal console application — note the UseConsoleLifetime() call at the end. It already comes with a sample Service1 (with a DoSomething method), so there is nothing else to add to test it.
Step 2 — Add the Windows Service package
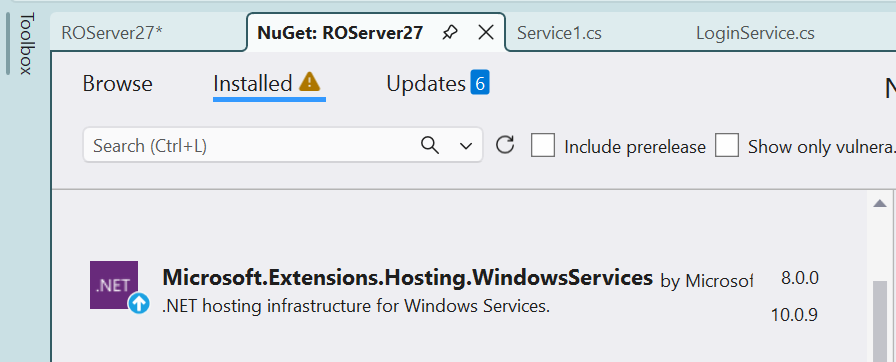
Right-click the project → Manage NuGet Packages → Browse, and install Microsoft.Extensions.Hosting.WindowsServices. This package adds the glue that lets the .NET host run under the Windows Service Control Manager.
Note: this is a Microsoft package, so make sure the Package source (top-right of the NuGet window) is set to nuget.org (or All) — it is not available from the RemObjects package feed. If nuget.org is missing from the list, add https://api.nuget.org/v3/index.json under Tools → NuGet Package Manager → Package Manager Settings → Package Sources.
Step 3 — Switch to the Windows Service lifetime
In Program.cs, replace the UseConsoleLifetime() call with UseWindowsService():
        .UseNetworkServer(server =>
        {
            // server.Port = 8099;
        })
        .UseWindowsService();   // <-- runs as a Windows Service
That single change is all the code needs. The app still runs fine from Visual Studio (F5) for debugging — UseWindowsService() only takes effect when the process is actually started by the Service Control Manager.
Step 4 — Build and install the service
Build the project (Release is recommended for a real deployment). The Microsoft.Extensions.Hosting.WindowsServices package does not ship its own installer, so you register the service with the built-in sc command.
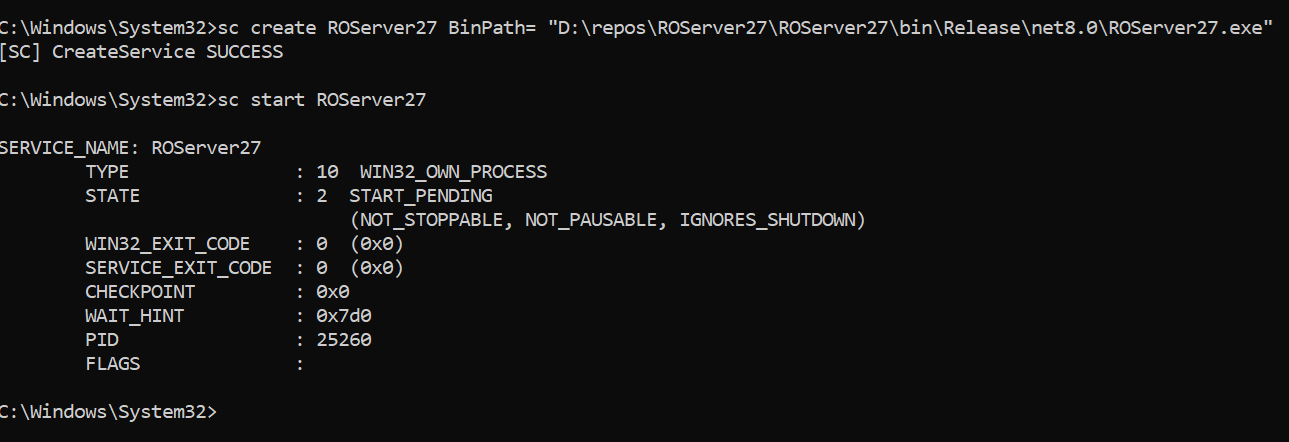
Open a terminal as Administrator and run:
sc create MyServer BinPath= "D:\repos\MyServer\MyServer\bin\Release\net8.0\MyServer.exe"
Here MyServer is just an example — use your own service name and the full path to your .exe. Keep the space after BinPath=.
Step 5 — Start and verify
Start the service:
sc start MyServer
Open the Services console (services.msc) and you should see MyServer listed and running:

To confirm the server itself is responding, open its service definition in a web browser (not in the terminal) — default port 8099:
http://localhost:8099/bin
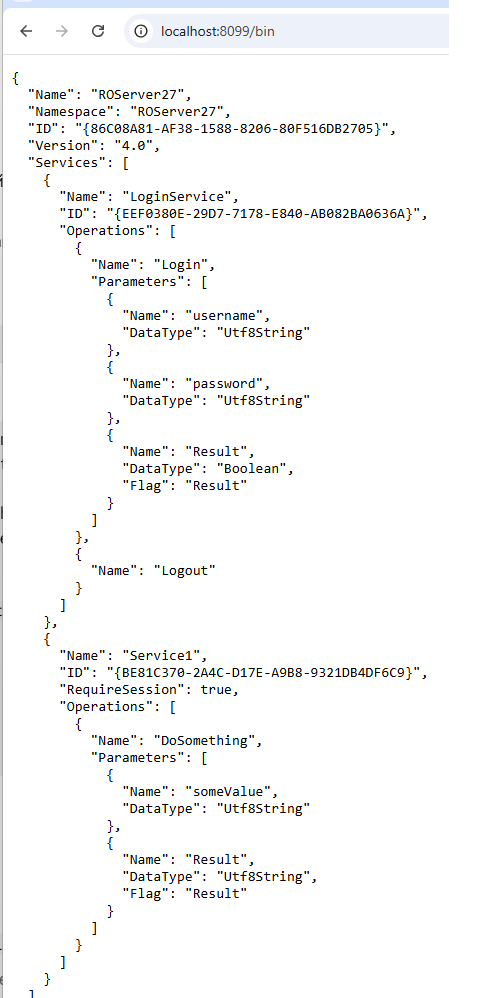
If you see the definition listing Service1 and its DoSomething method, your server is now running as a Windows Service.
Managing the service
sc stop MyServer      # stop it
sc start MyServer     # start it again
sc delete MyServer    # uninstall it (stop it first)
You can also start/stop it, or set it to start automatically at boot, from the Services console.
See Also
- ApplicationHost — the hosting infrastructure this builds on (including Topshelf and Linux
systemdoptions) - How to write a Server (.NET)
- Code-First Servers