Adding Remoting SDK to an Existing Application (.NET)
You don't need a special project template to use Remoting SDK. You can take any project you already have — even a plain Console app — and turn it into a Remoting SDK server (or client) in a few small steps. This article shows how.
Turning your app into a server
We'll use a fresh Console App as the example, but the same steps work for any existing .NET project.
Step 1 — Add the package
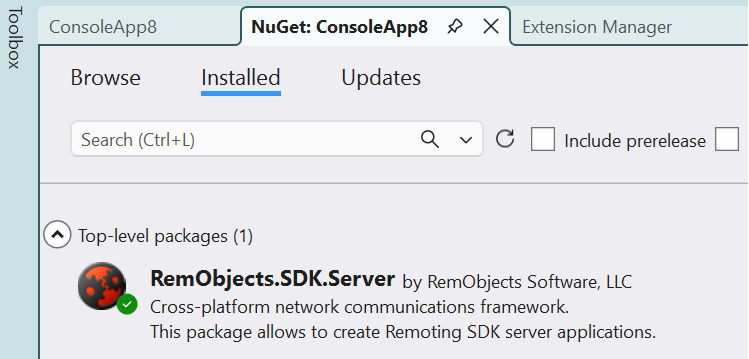
In Visual Studio, right-click your project → Manage NuGet Packages → Browse, find RemObjects.SDK.Server and click Install.
Step 2 — Write a service
A service is just a class with the methods you want to make available to clients. Mark the class with [Service] and each method you want to publish with [ServiceMethod]:
using RemObjects.SDK.Server;

[Service]
public class BusinessLogicService : Service
{
    [ServiceMethod]
    public int Process(string value)
    {
        if (string.IsNullOrEmpty(value))
            return 0;

        return value.Length;
    }
}
Think of the service as the menu — it lists what your server can do. The methods can do anything you like; here Process just returns the length of the text it receives.
Step 3 — Start the server
The menu needs someone to open the restaurant and take orders. That's the ApplicationServer — two lines and it runs:
using RemObjects.SDK.Server;

var server = new ApplicationServer("MyServer");
server.Run(args);
server.Run(args) starts listening on port 8099 and automatically finds every class marked with [Service] — you don't have to register anything by hand.
Put together, the whole Program.cs of a Console app looks like this:
using RemObjects.SDK.Server;

// start the server — it finds the [Service] classes on its own
var server = new ApplicationServer("MyServer");
server.Run(args);

// the service
[Service]
public class BusinessLogicService : Service
{
    [ServiceMethod]
    public int Process(string value)
    {
        if (string.IsNullOrEmpty(value))
            return 0;

        return value.Length;
    }
}
Step 4 — Run and check
Press F5. A console window opens and the server keeps running (it shows Press Ctrl+C to terminate).
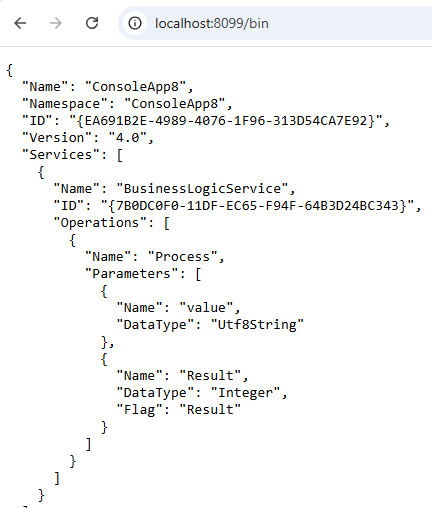
Now open this address in your browser:
http://localhost:8099/bin
If you see the server's service definition listing BusinessLogicService and its Process method — that's it, your ordinary Console project is now a Remoting SDK server.
Prefer designing the contract visually? Instead of marking classes in code you can define the service in a .RODL file with the Service Builder; Visual Studio then generates the supporting code for you. See How to write a Server for both styles side by side.
Turning your app into a client
A client is a separate application (one app serves data, the other consumes it), so add a second project to your solution — for example another Console App — and follow these steps in it.
Step 1 — Add the package
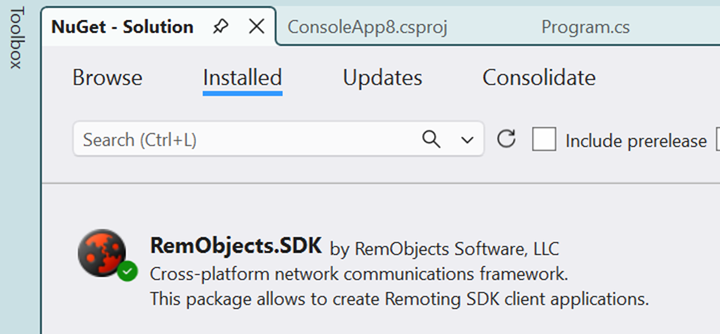
Add the RemObjects.SDK NuGet package to the client project (the server package, RemObjects.SDK.Server, is not needed here).
Step 2 — Get the service interface
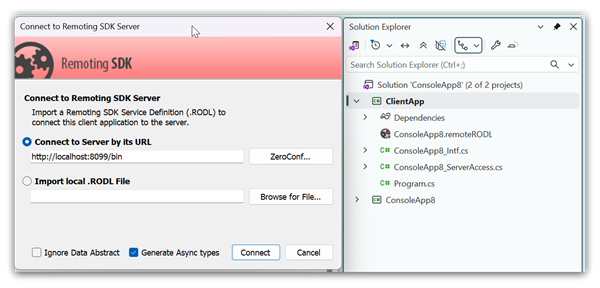
The client talks to the server through a small generated interface file (a service interface plus a Co<ServiceName> factory). Because our server is Code-First, it doesn't ship that file — it publishes the description live, so we import it straight from the running server:
- Start the server first (run the server project; leave its console open). The import only works while the server is running.
- In Visual Studio open the Extensions menu → Connect to Remoting SDK Server...
- Enter your server's address —
http://localhost:8099/bin— and click OK.
Step 3 — Call the server
Create a client channel pointed at the server's URL, hand it to the generated factory, and call your method as if it were a local one:
using RemObjects.SDK;

var message = new BinMessage();
var channel = new IpHttpClientChannel();
channel.TargetUrl = "http://localhost:8099/bin";

var service = CoBusinessLogicService.Create(message, channel);

int result = service.Process("Hello");
Console.WriteLine($"Server returned: {result}");   // prints 5
Note: if the generated interface lives in its own namespace, add the matching using at the top of the file (Visual Studio offers it as a quick fix).
Step 4 — Run both together
The client needs the server up to talk to:
- Start the server (run the server project) and leave it running.
- Right-click the client project → Debug → Start New Instance.
When the client window prints Server returned: 5, your two apps are talking to each other over Remoting SDK.
Note: a remote call travels over the network, so it is slower than a local method call. Try to do more work in fewer calls rather than making many tiny ones.